
➜ Floor Installation
FLOOR INSTALLATION IN Lowell, MA
Wood flooring manufacturers want the subfloor flat within 3/16 inch over 10 feet before a single board goes down. Advanced Flooring Solution, LLC measures that first. Our floor installation covers hardwood, engineered plank, luxury vinyl, laminate, tile, and stone for homes and businesses in Lowell, MA, plus Chelmsford, Dracut, and Andover, MA. Flat and dry beats fast on every job.
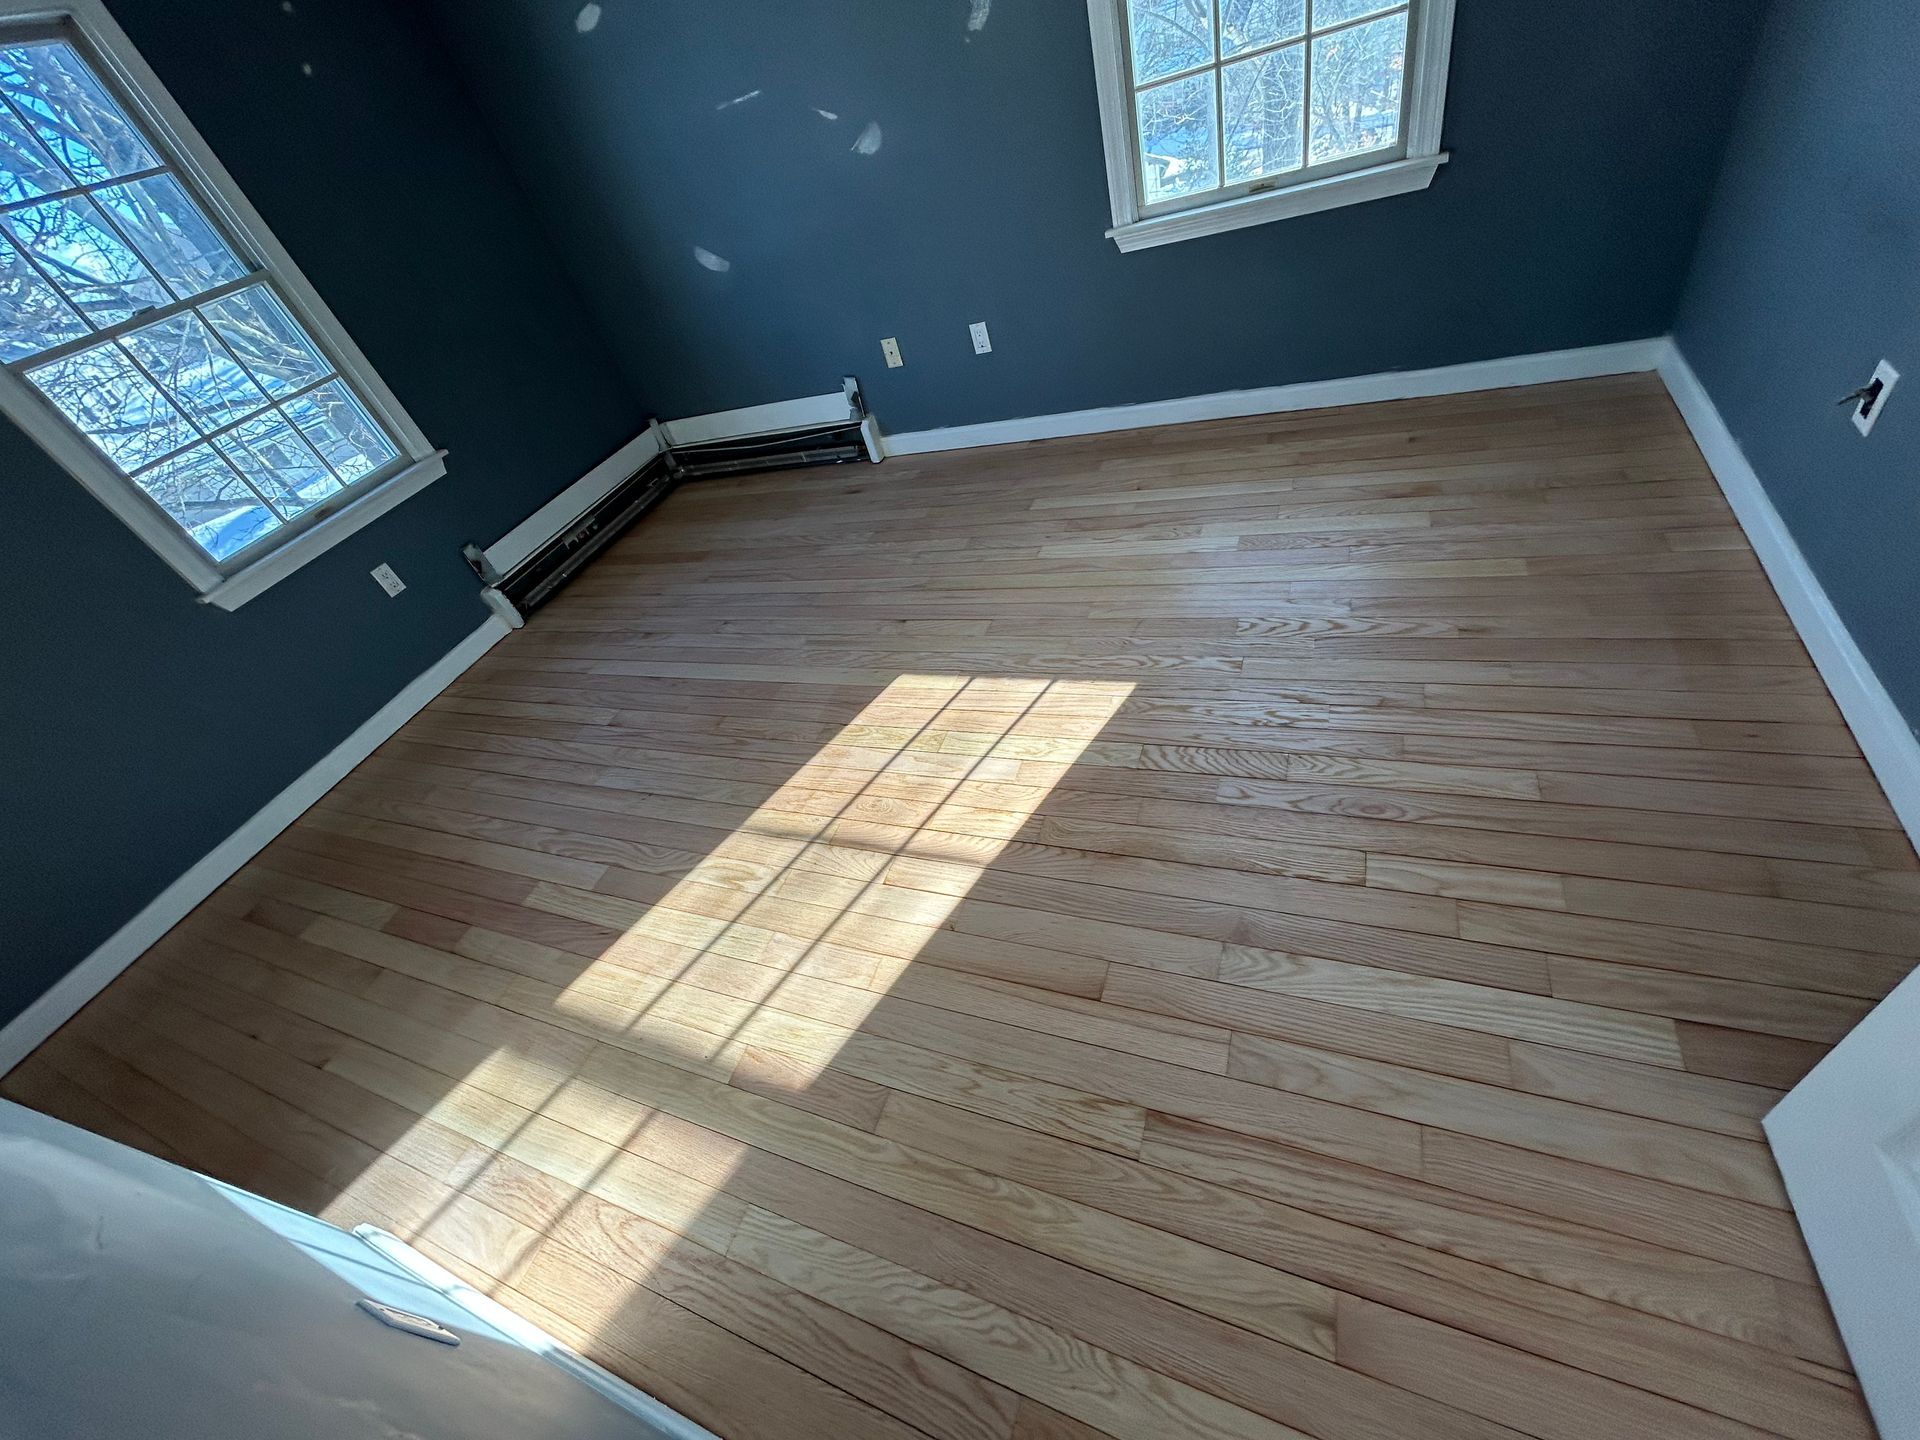
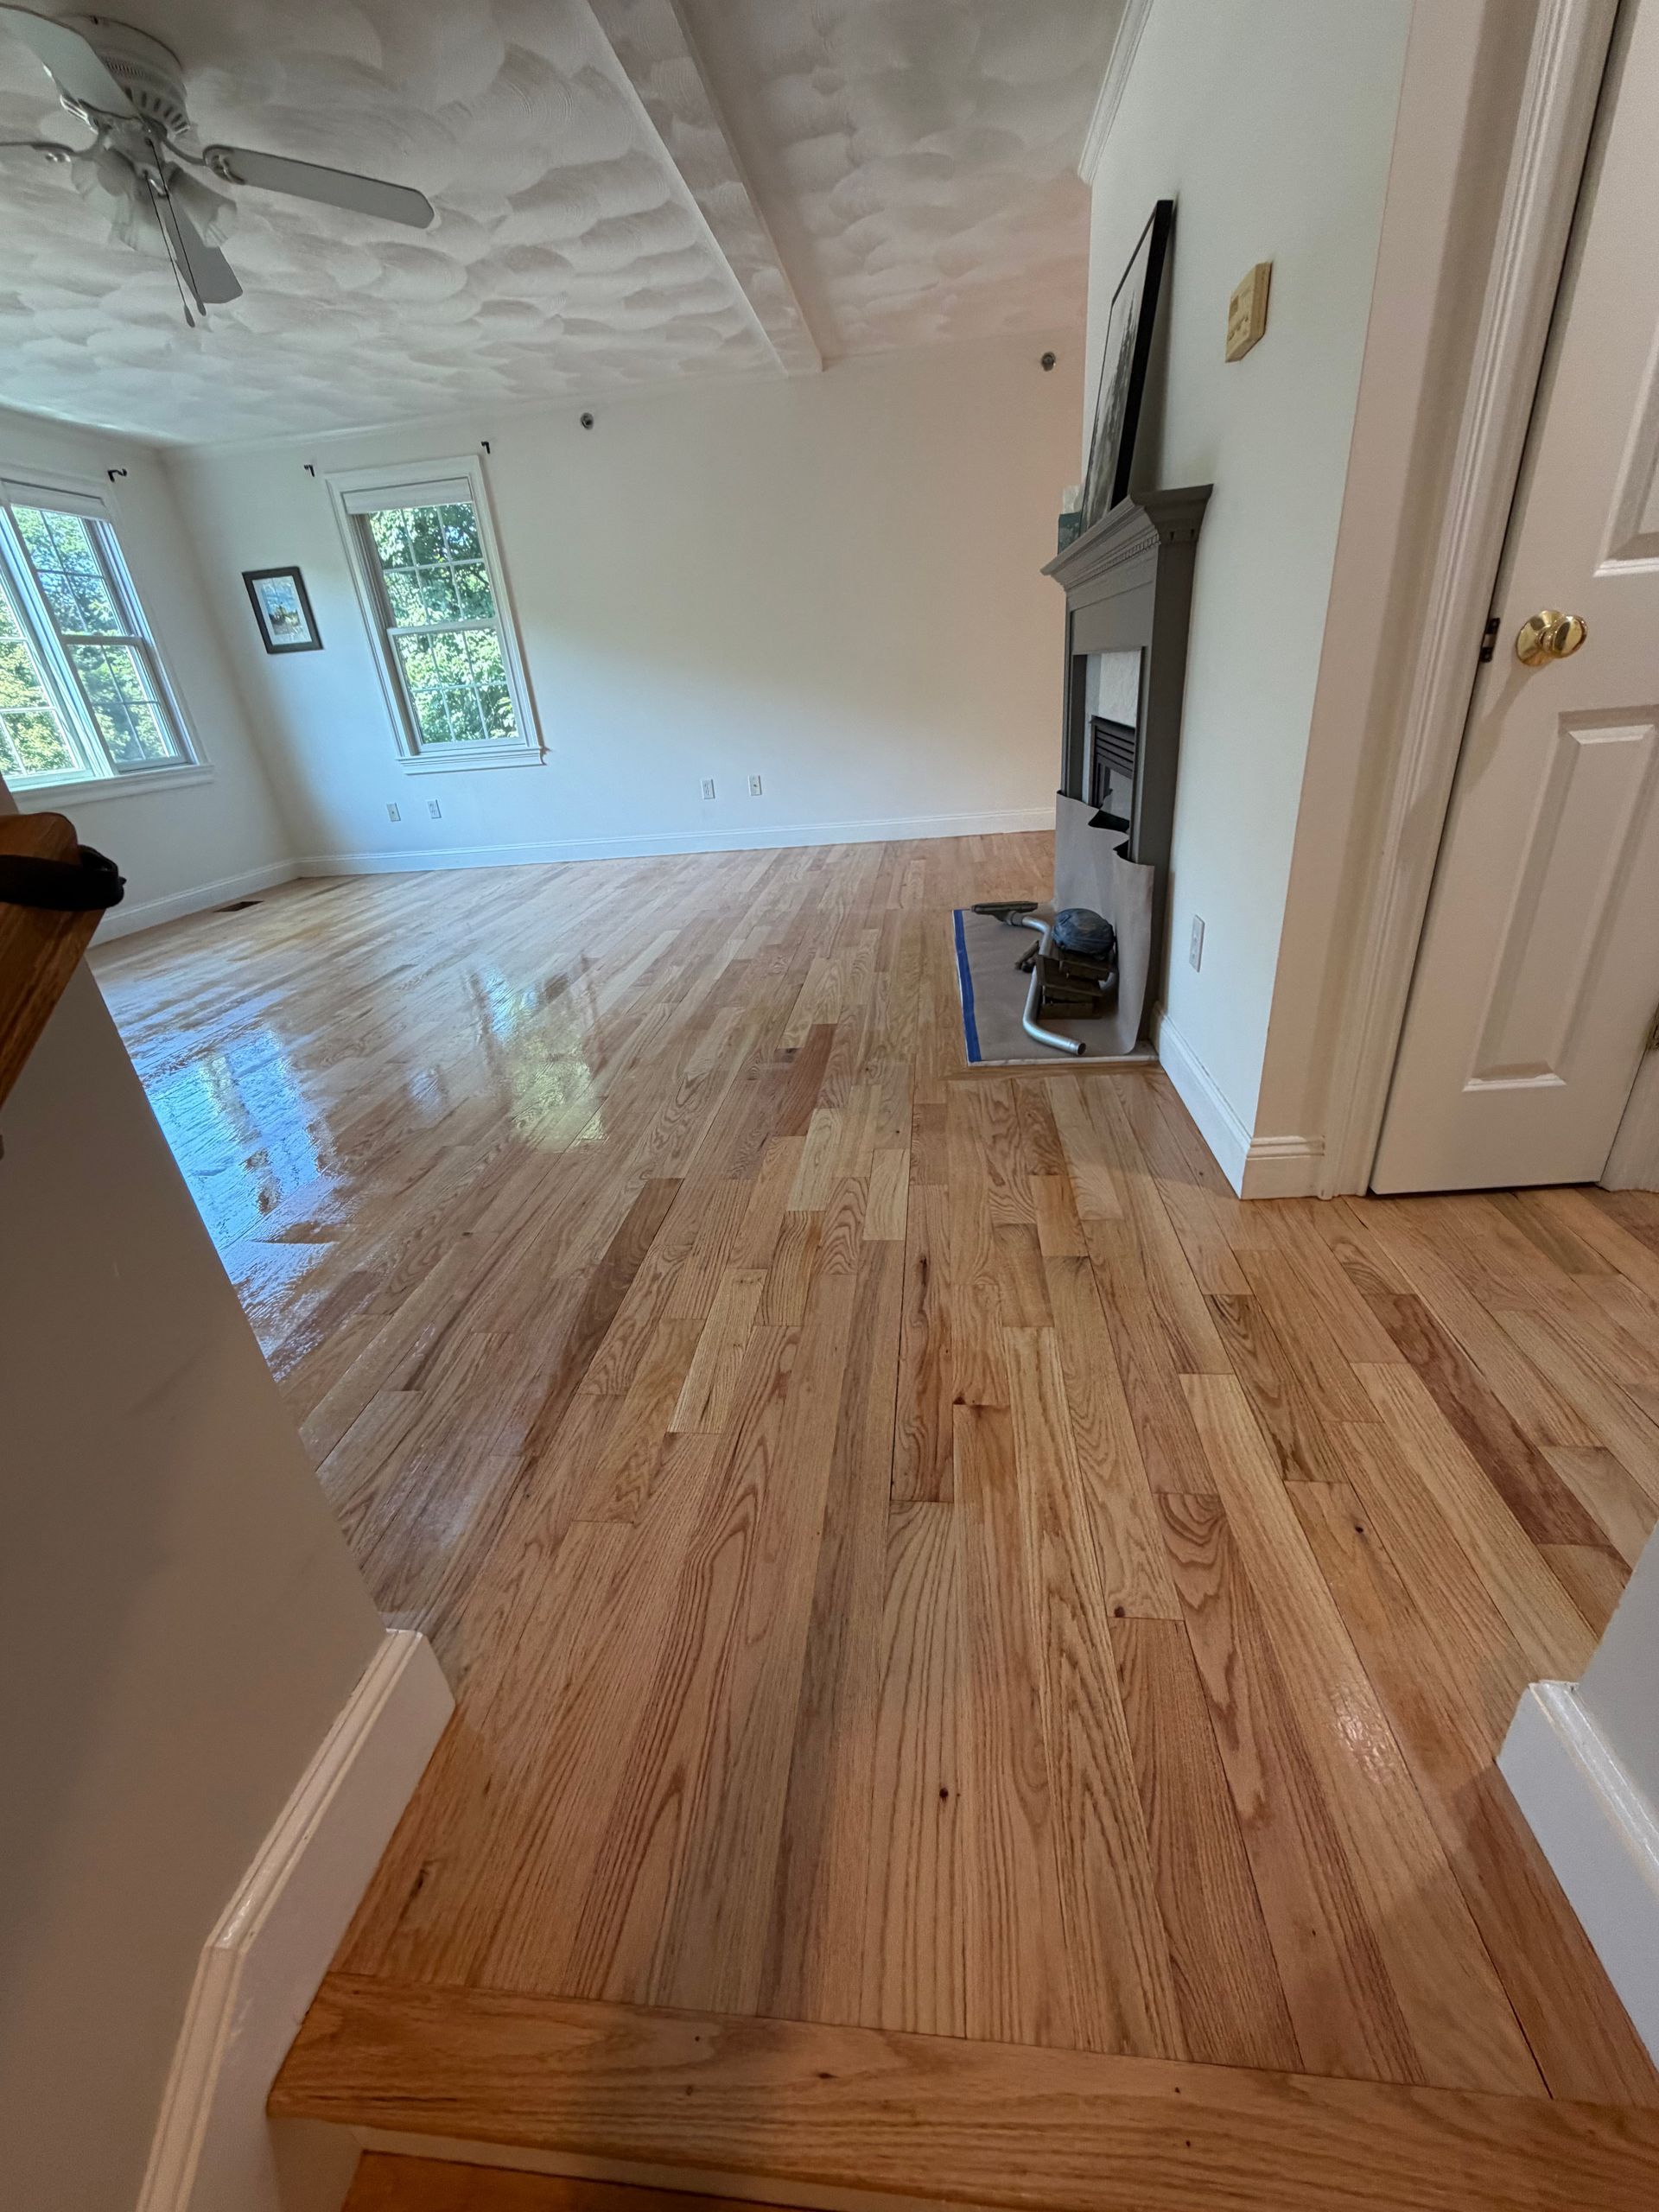
A FLOOR IS ONLY AS GOOD AS WHAT IS UNDER IT.
Most flooring complaints trace back to something nobody checked. A slab that still holds construction moisture. A hump over a joist that nobody flattened. Plank that came off a cold truck and went down the same afternoon. None of that shows the day a job finishes, and all of it shows a year later as gaps, hollow spots, or a lifted seam.
We would rather spend the extra morning on the substrate than come back for a callback we could have prevented. That is the whole argument for hiring an installer instead of renting a nailer.
- Moisture tested in slab and subfloor
- Substrate flattened before material arrives
- Material acclimated in your conditions
- One-year warranty on completed work
➜ FLOOR INSTALLATION
NEW FLOORS THAT LOOK RIGHT ON DAY ONE AND YEAR TEN
Choosing a floor is the easy part. Making it lie flat across a room that has settled for a century, meet three doorways at three different heights, and stay tight through a New England winter is where the work actually is. We plan run direction against your sightlines and joists, order from one lot so color stays consistent, and set the layout so the last board is not a sliver.
LOWELL SUBFLOORS RARELY START OUT FLAT.
Houses here range from canal-era workers' housing to slab-on-grade ranches, and almost none of the older ones have a level floor left. Board subfloors sag between joists, old layers get left in place, and additions meet original structure at a height that never quite matched. We map the high and low spots with a straightedge before quoting, then price sanding, shimming, or self-leveling compound as the room requires.
25 YEARS OF SETTING FLOORS IN THIS VALLEY.
We opened in 2001 and have been laying floors around Lowell ever since, which means we have already met your house, or one built the same decade by the same hands. That history shows up in small ways: knowing which subfloor systems hide rot, which slabs need a moisture test before glue-down, how far a wide plank moves in an unheated three-season room. Want a second opinion on a quote you already hold?
WHY CHOOSE US FOR FLOOR INSTALLATION.
MOISTURE READ BEFORE MATERIAL LANDS
You get a documented moisture reading of the slab or subfloor before anything is ordered. If the number is wrong, we say so and wait, which costs days now instead of a floor later.
FLAT SUBSTRATE OR NO INSTALLATION
We do not lay material over a substrate that fails tolerance and hope the underlayment absorbs it. The floor gets flattened first, and you see the correction priced as its own line rather than buried.
ACCLIMATION TIME WE DO NOT SKIP
Material sits in your actual rooms, at your actual temperature and humidity, until its moisture content matches the subfloor. Skipping that step is the single most common reason a new wood floor gaps by February.
LAYOUT PLANNED AROUND SIGHTLINES
Board direction, starting wall, and seam placement get decided with you standing in the room. That keeps runs square to the longest sightline and keeps ugly narrow rips out of the doorway where everyone looks.
TRANSITIONS THAT DISAPPEAR
Doorways, stair nosings, and height changes between rooms get detailed with the right profile in a matching finish. Good transitions are details you never notice, which is exactly the point of doing them carefully.
ONE COMPANY FROM TEAROUT TO TRIM
Old flooring removal, disposal, prep, installation, thresholds, and shoe molding all come from the same crew on one schedule. Nobody hands your job to a subcontractor halfway through and stops answering the phone.
➜ WHAT WE INSTALL
OUR FLOOR INSTALLATION WORK
Six material categories, each with its own prep requirements, fastening method, and moisture limits. We work in all of them and will tell you plainly when a room suits one better.
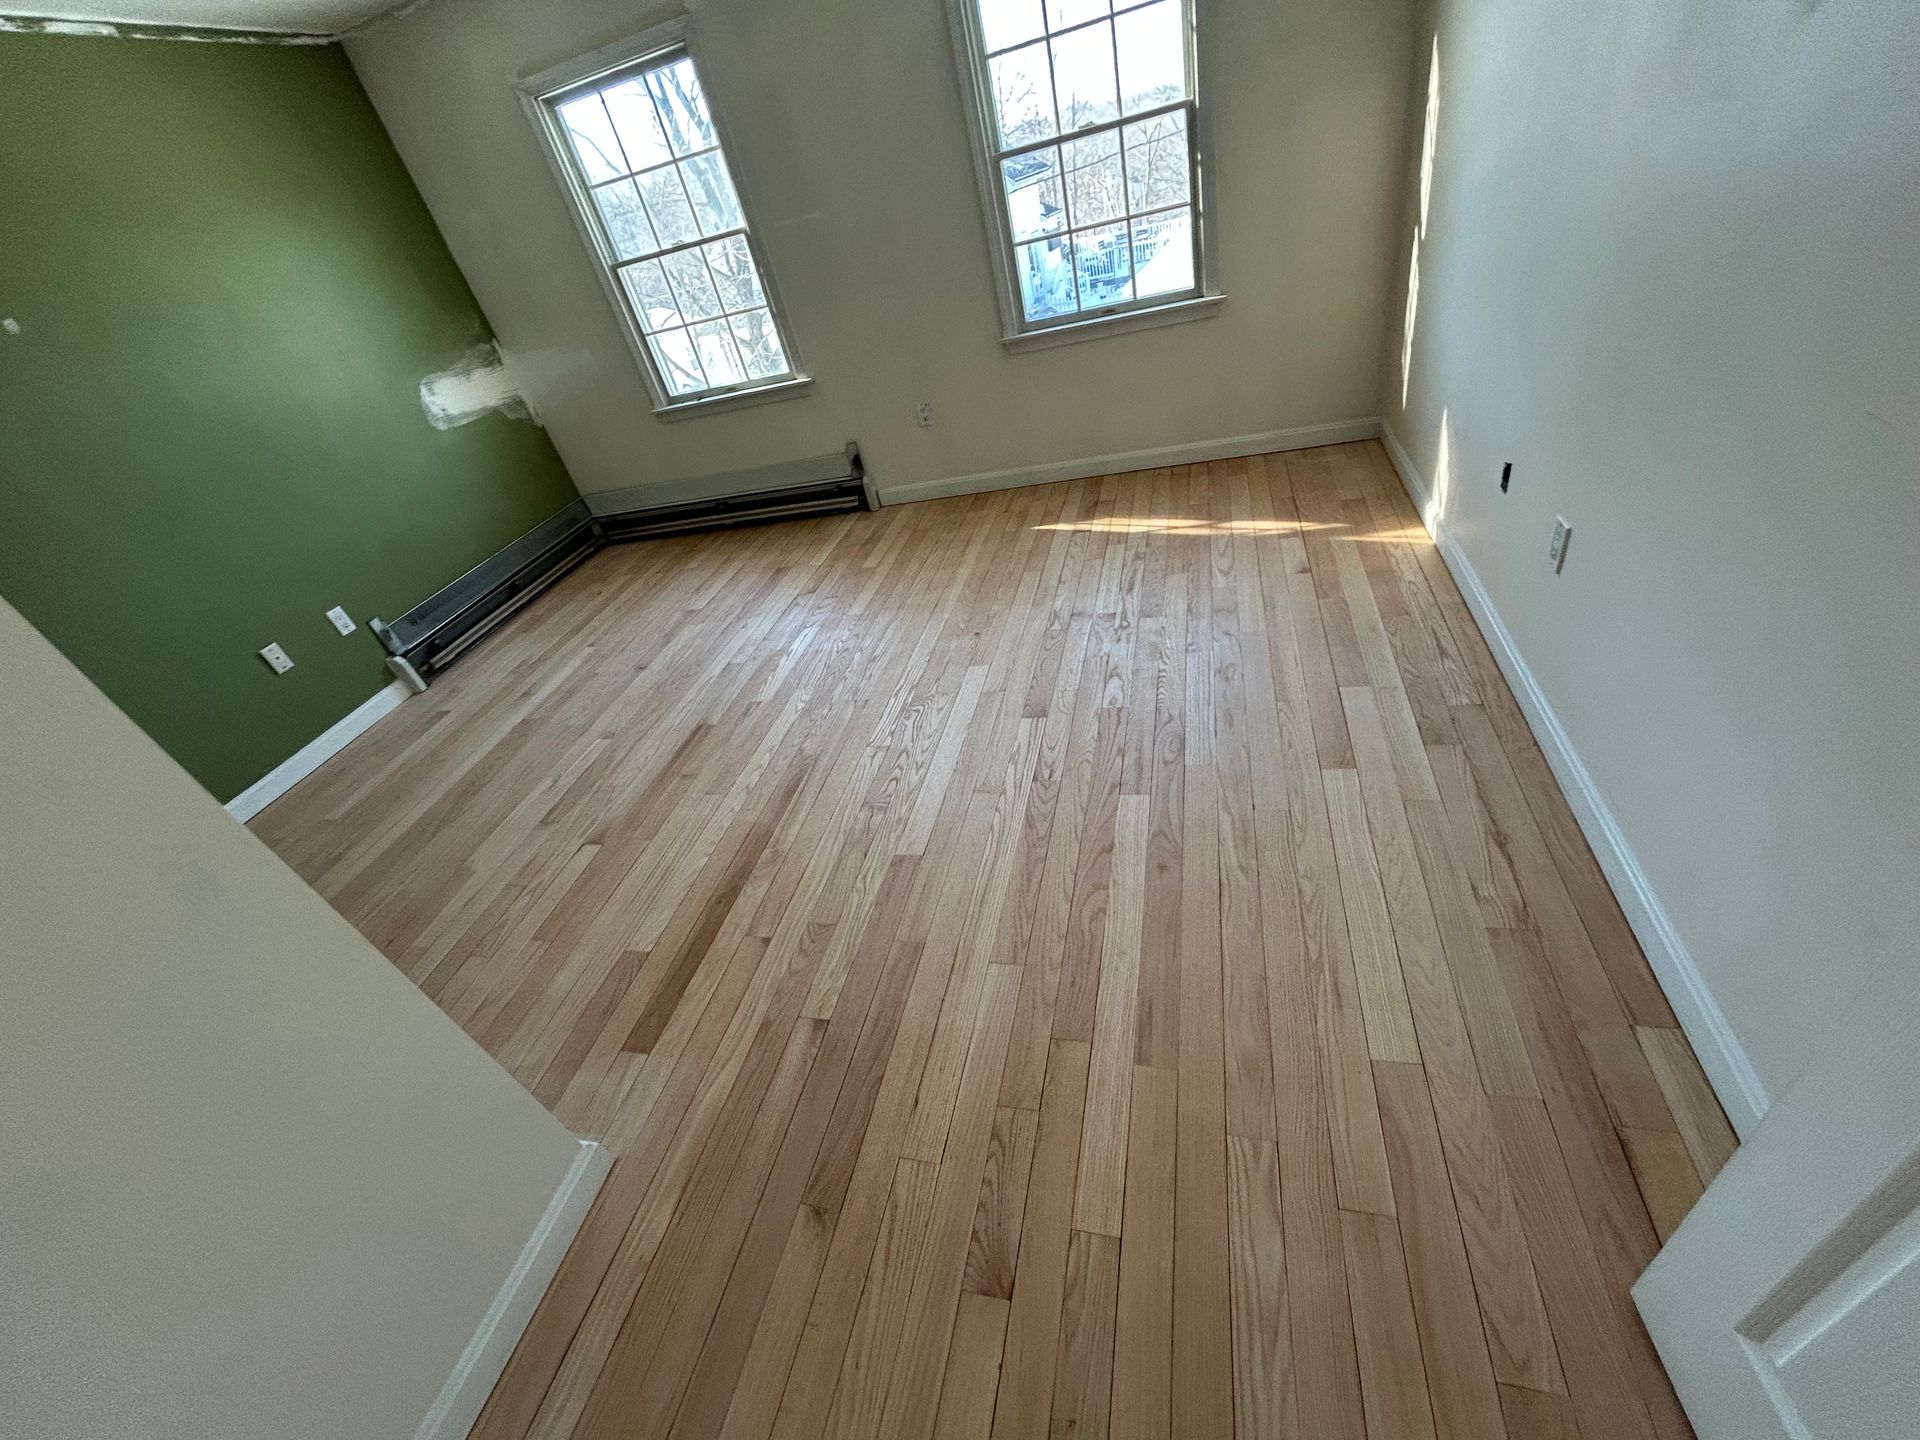
SOLID WOOD
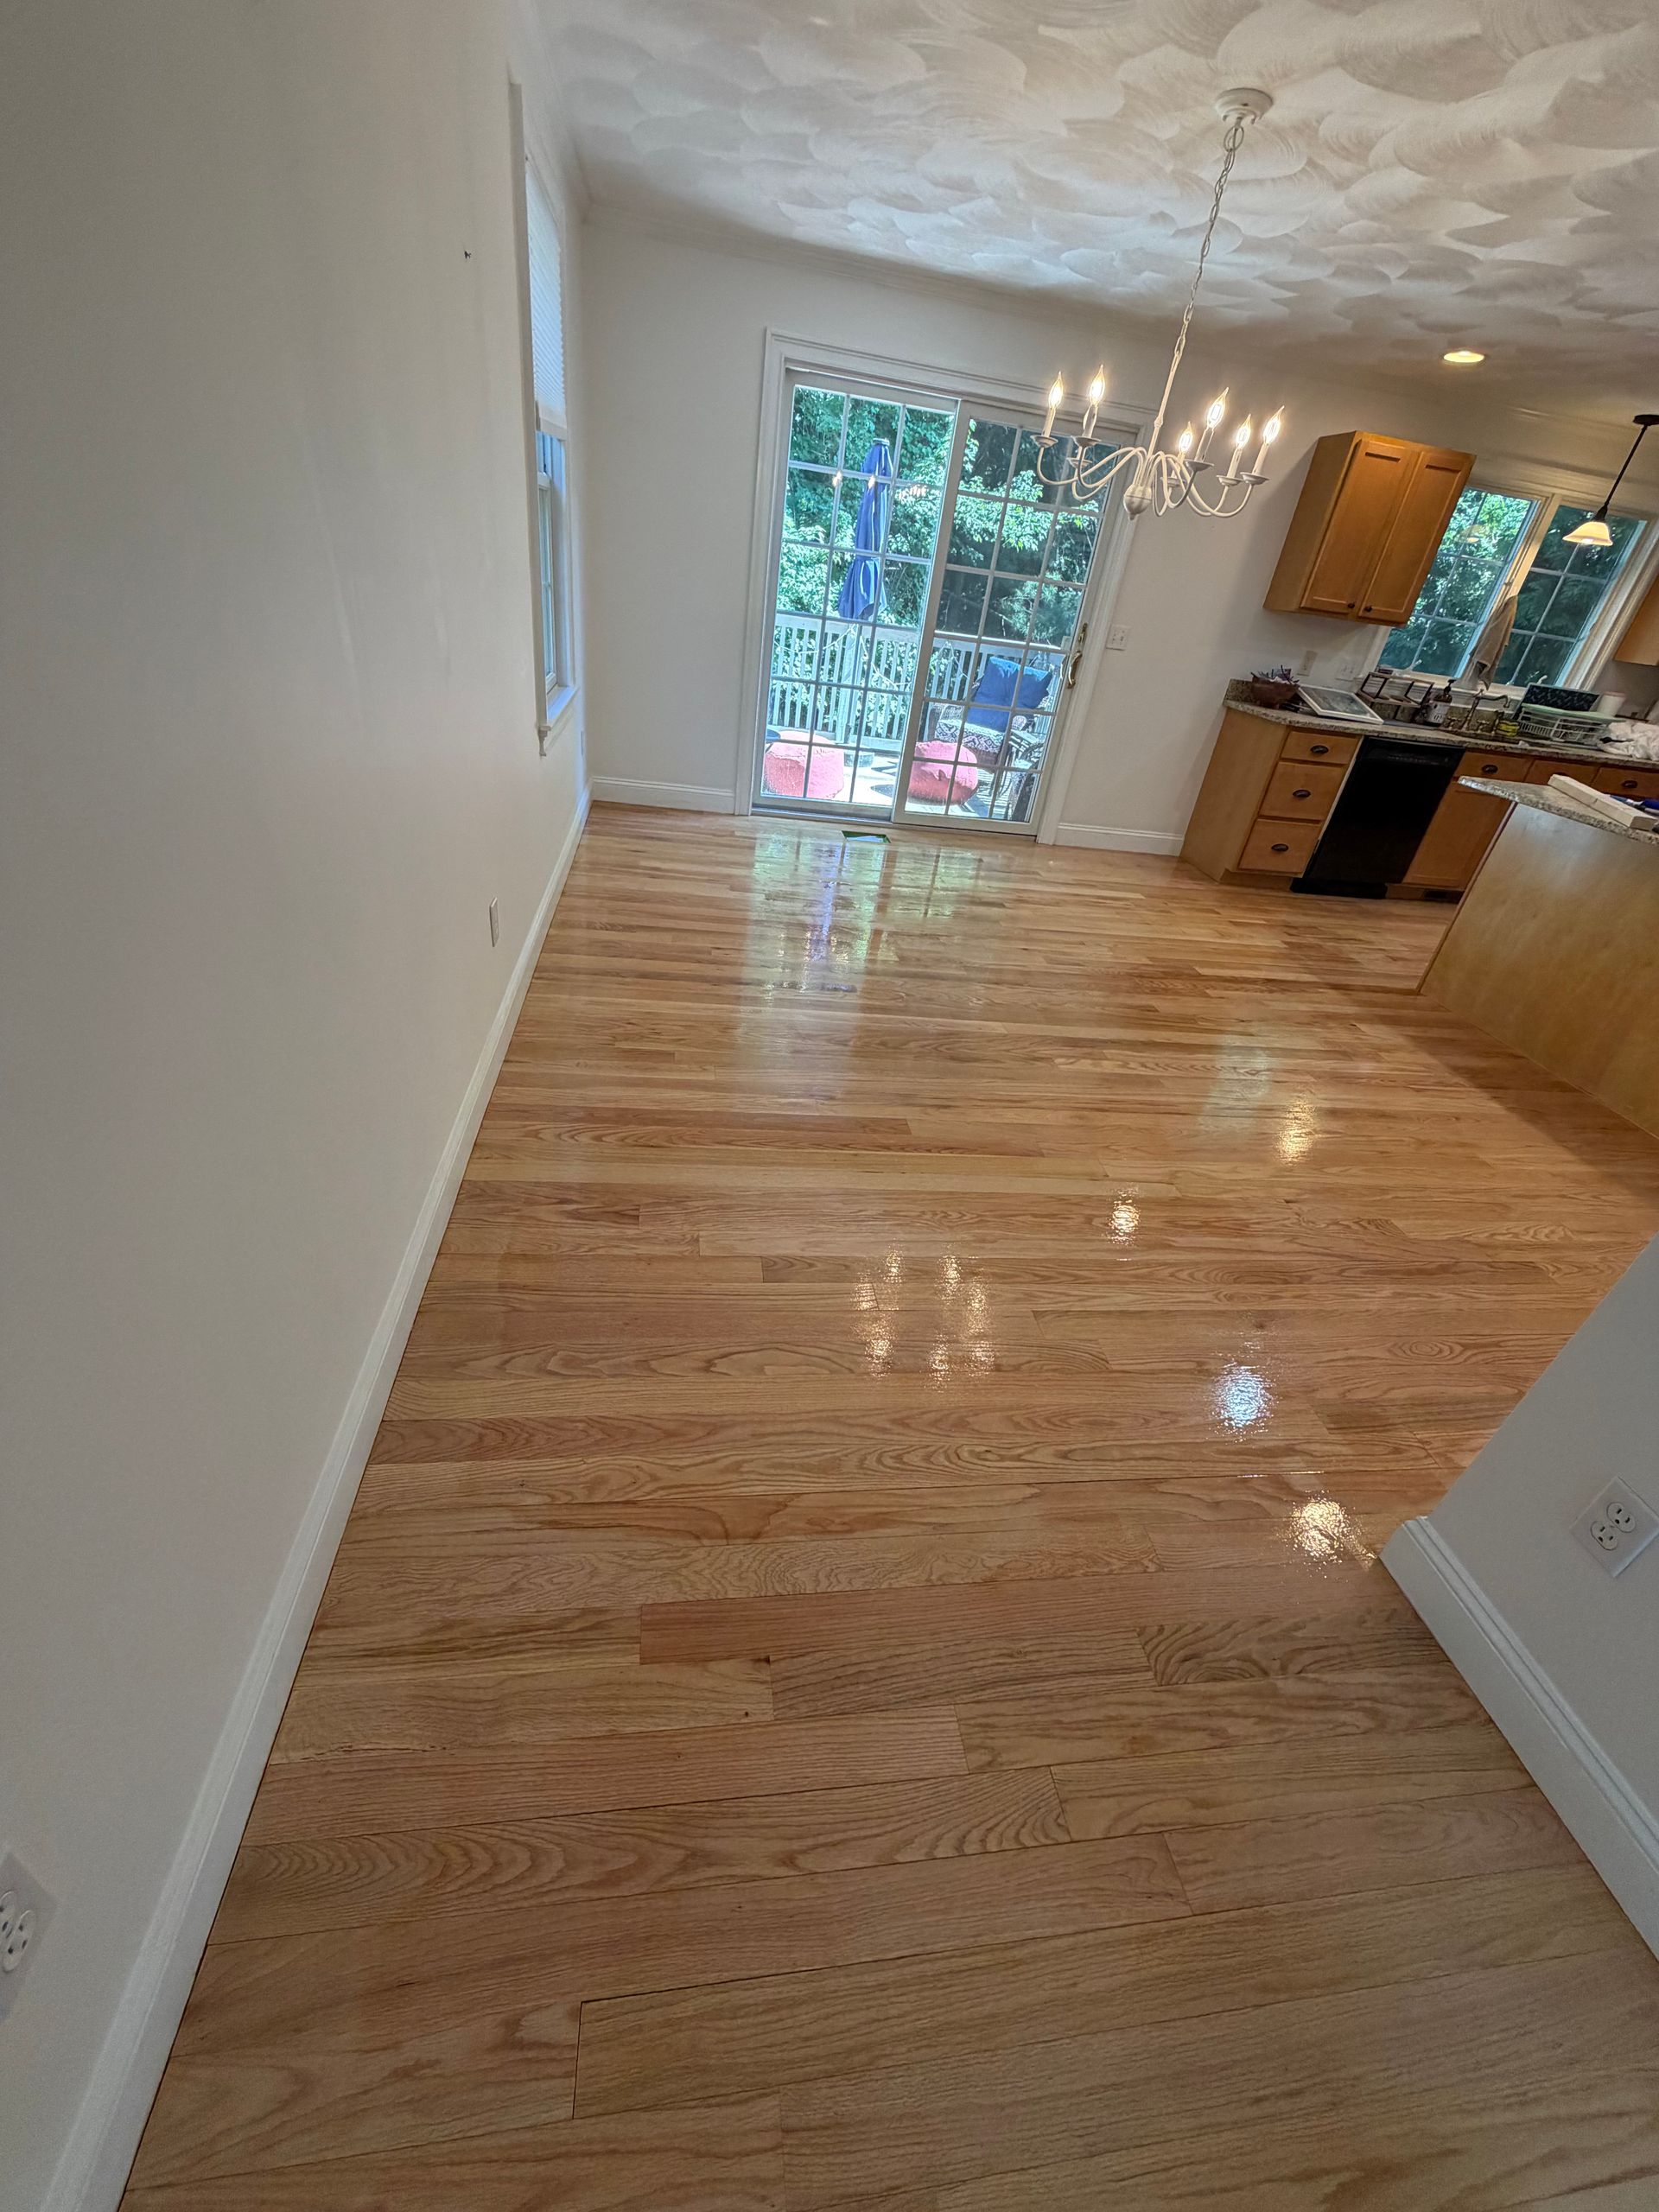
Hardwood Floor Installation
Site-finished or prefinished solid oak, maple, hickory, and ash, blind-nailed into a wood subfloor and racked so grain and color distribute evenly. Best above grade in rooms that stay within a stable humidity range through the year.
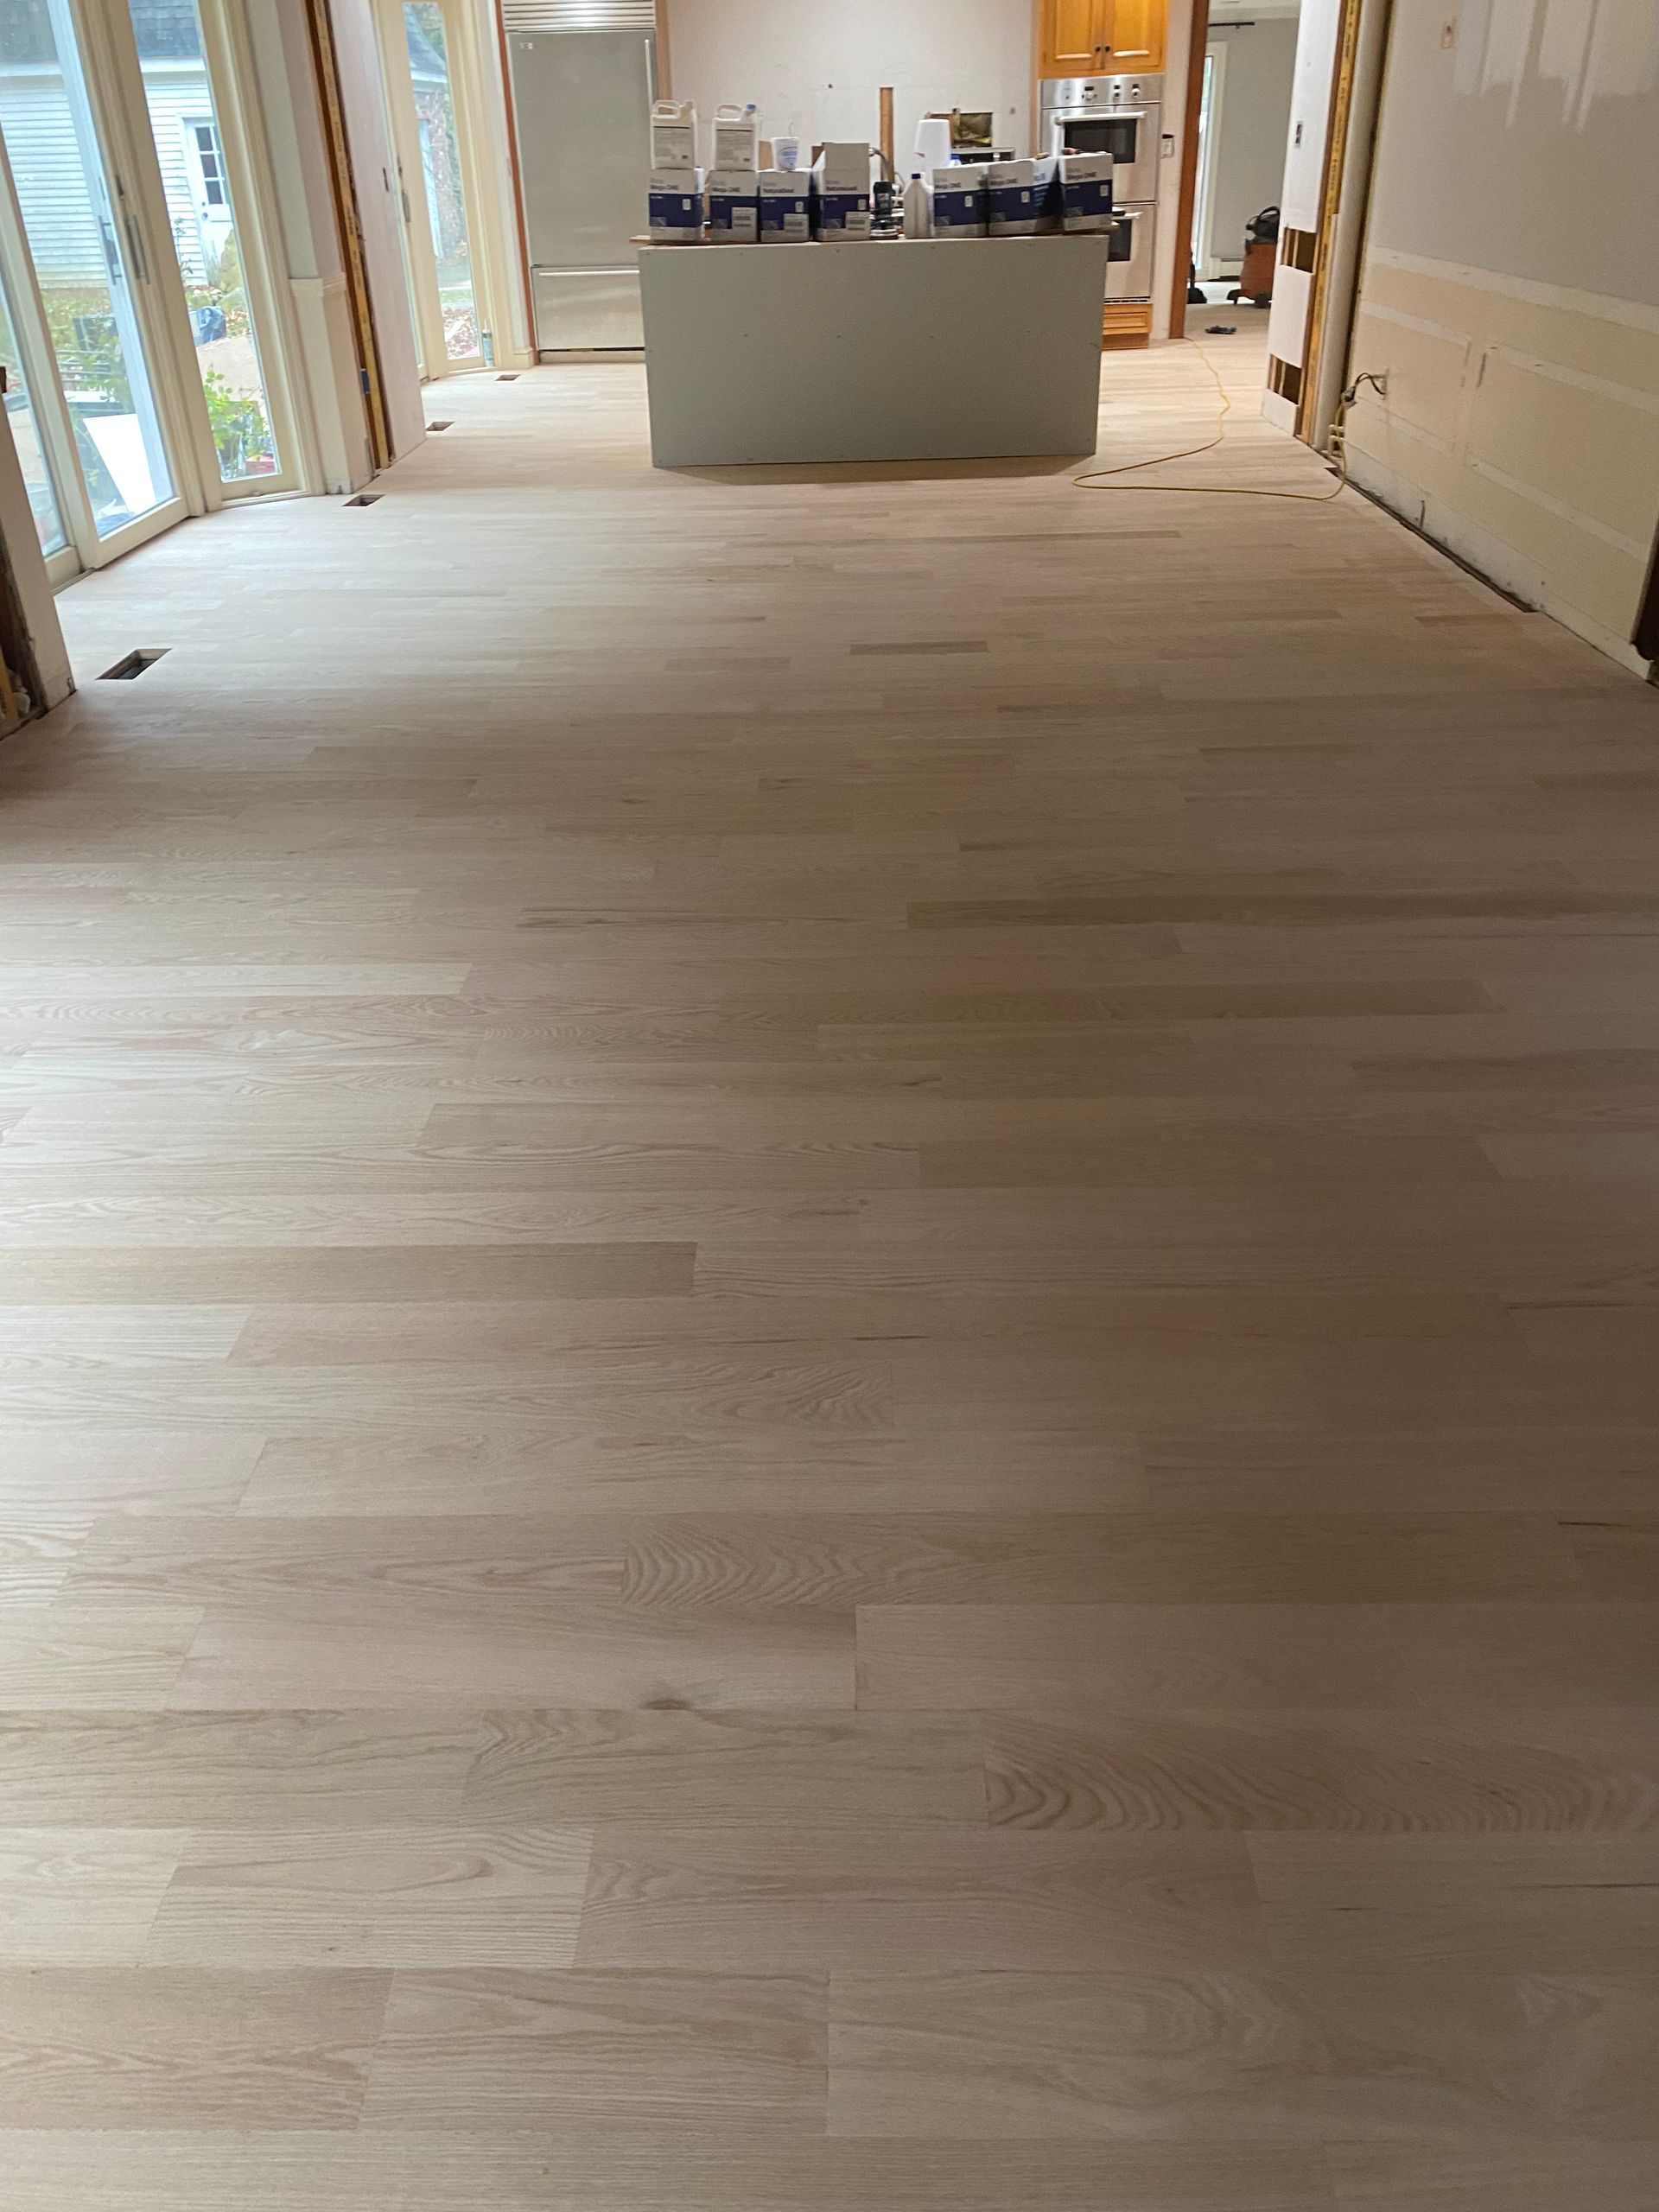
ENGINEERED
Engineered Wood Flooring
A real wood wear layer over a dimensionally stable core, which handles humidity swings and concrete better than solid plank. Installed floating, glued, or stapled depending on the subfloor, with wide widths available without the seasonal movement penalty.
VINYL PLANK
Luxury Vinyl Plank Installation
Rigid-core and glue-down vinyl for kitchens, baths, basements, mudrooms, and commercial floors that see water. Highly forgiving underfoot and genuinely waterproof at the plank, though the substrate below still gets flattened to the same standard.
LAMINATE
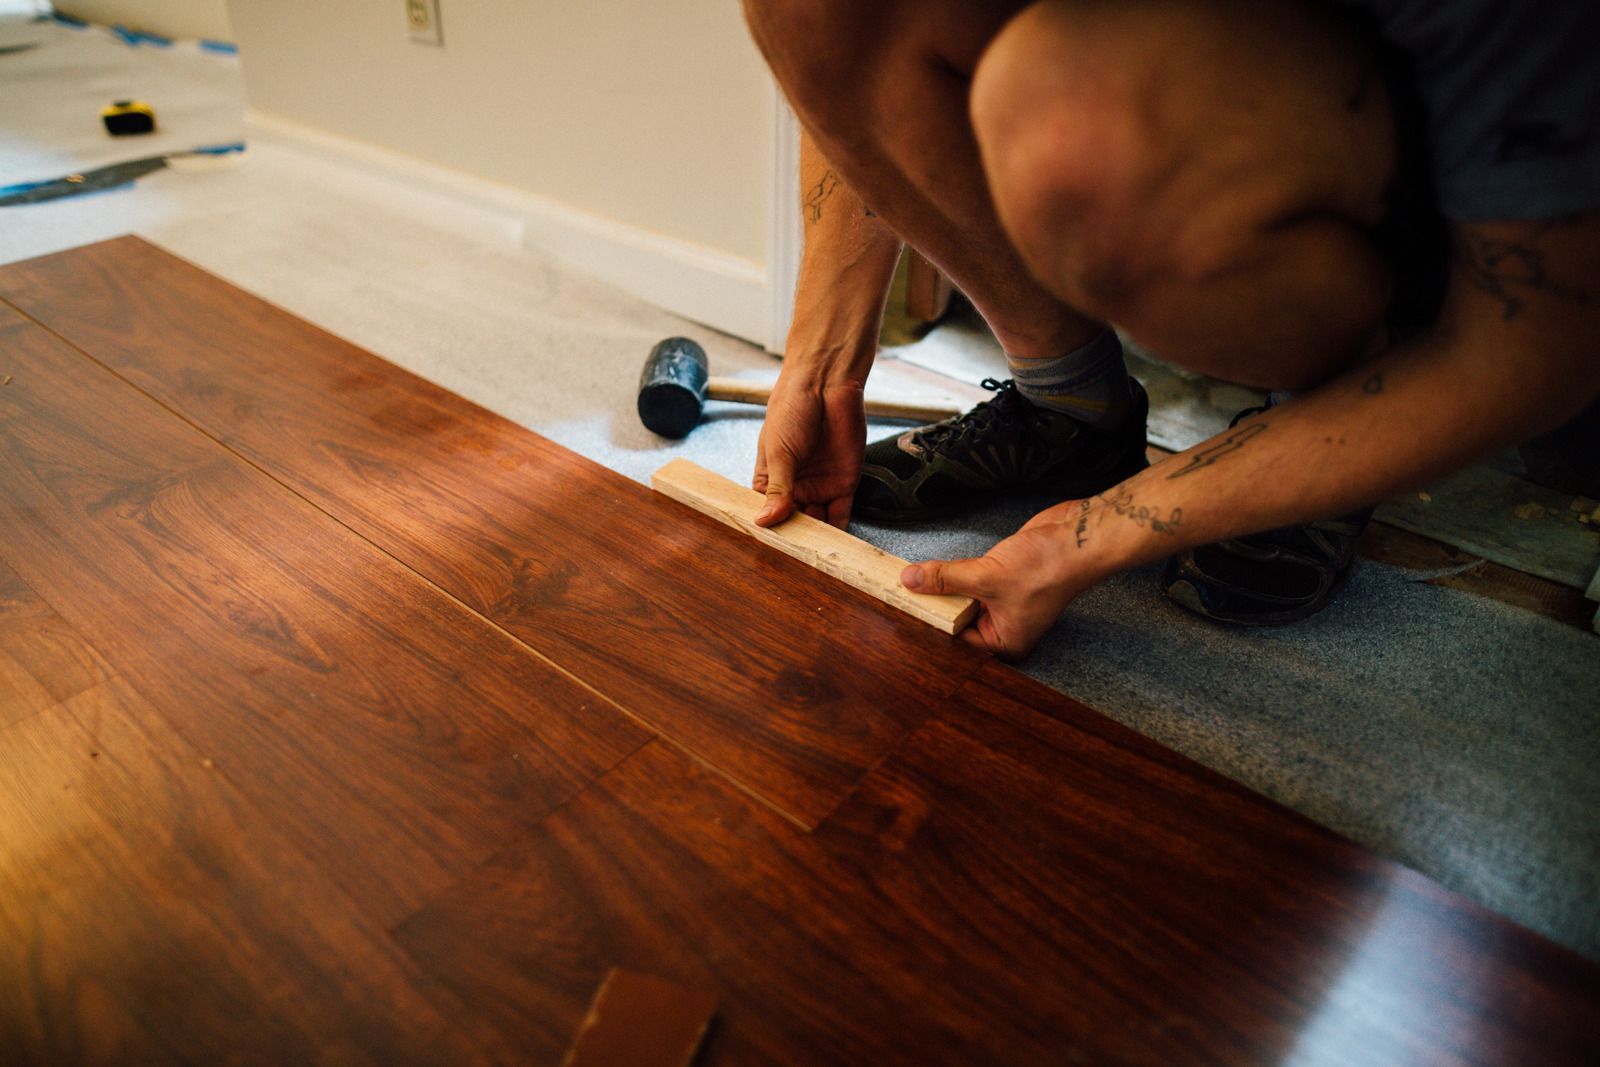
Laminate Floor Installation
A hard wear layer over a high-density core, floated over underlayment with proper perimeter expansion. Strong scratch resistance at a lower cost per square foot, which makes it a practical choice for rentals, playrooms, and busy hallways.
TILE WORK
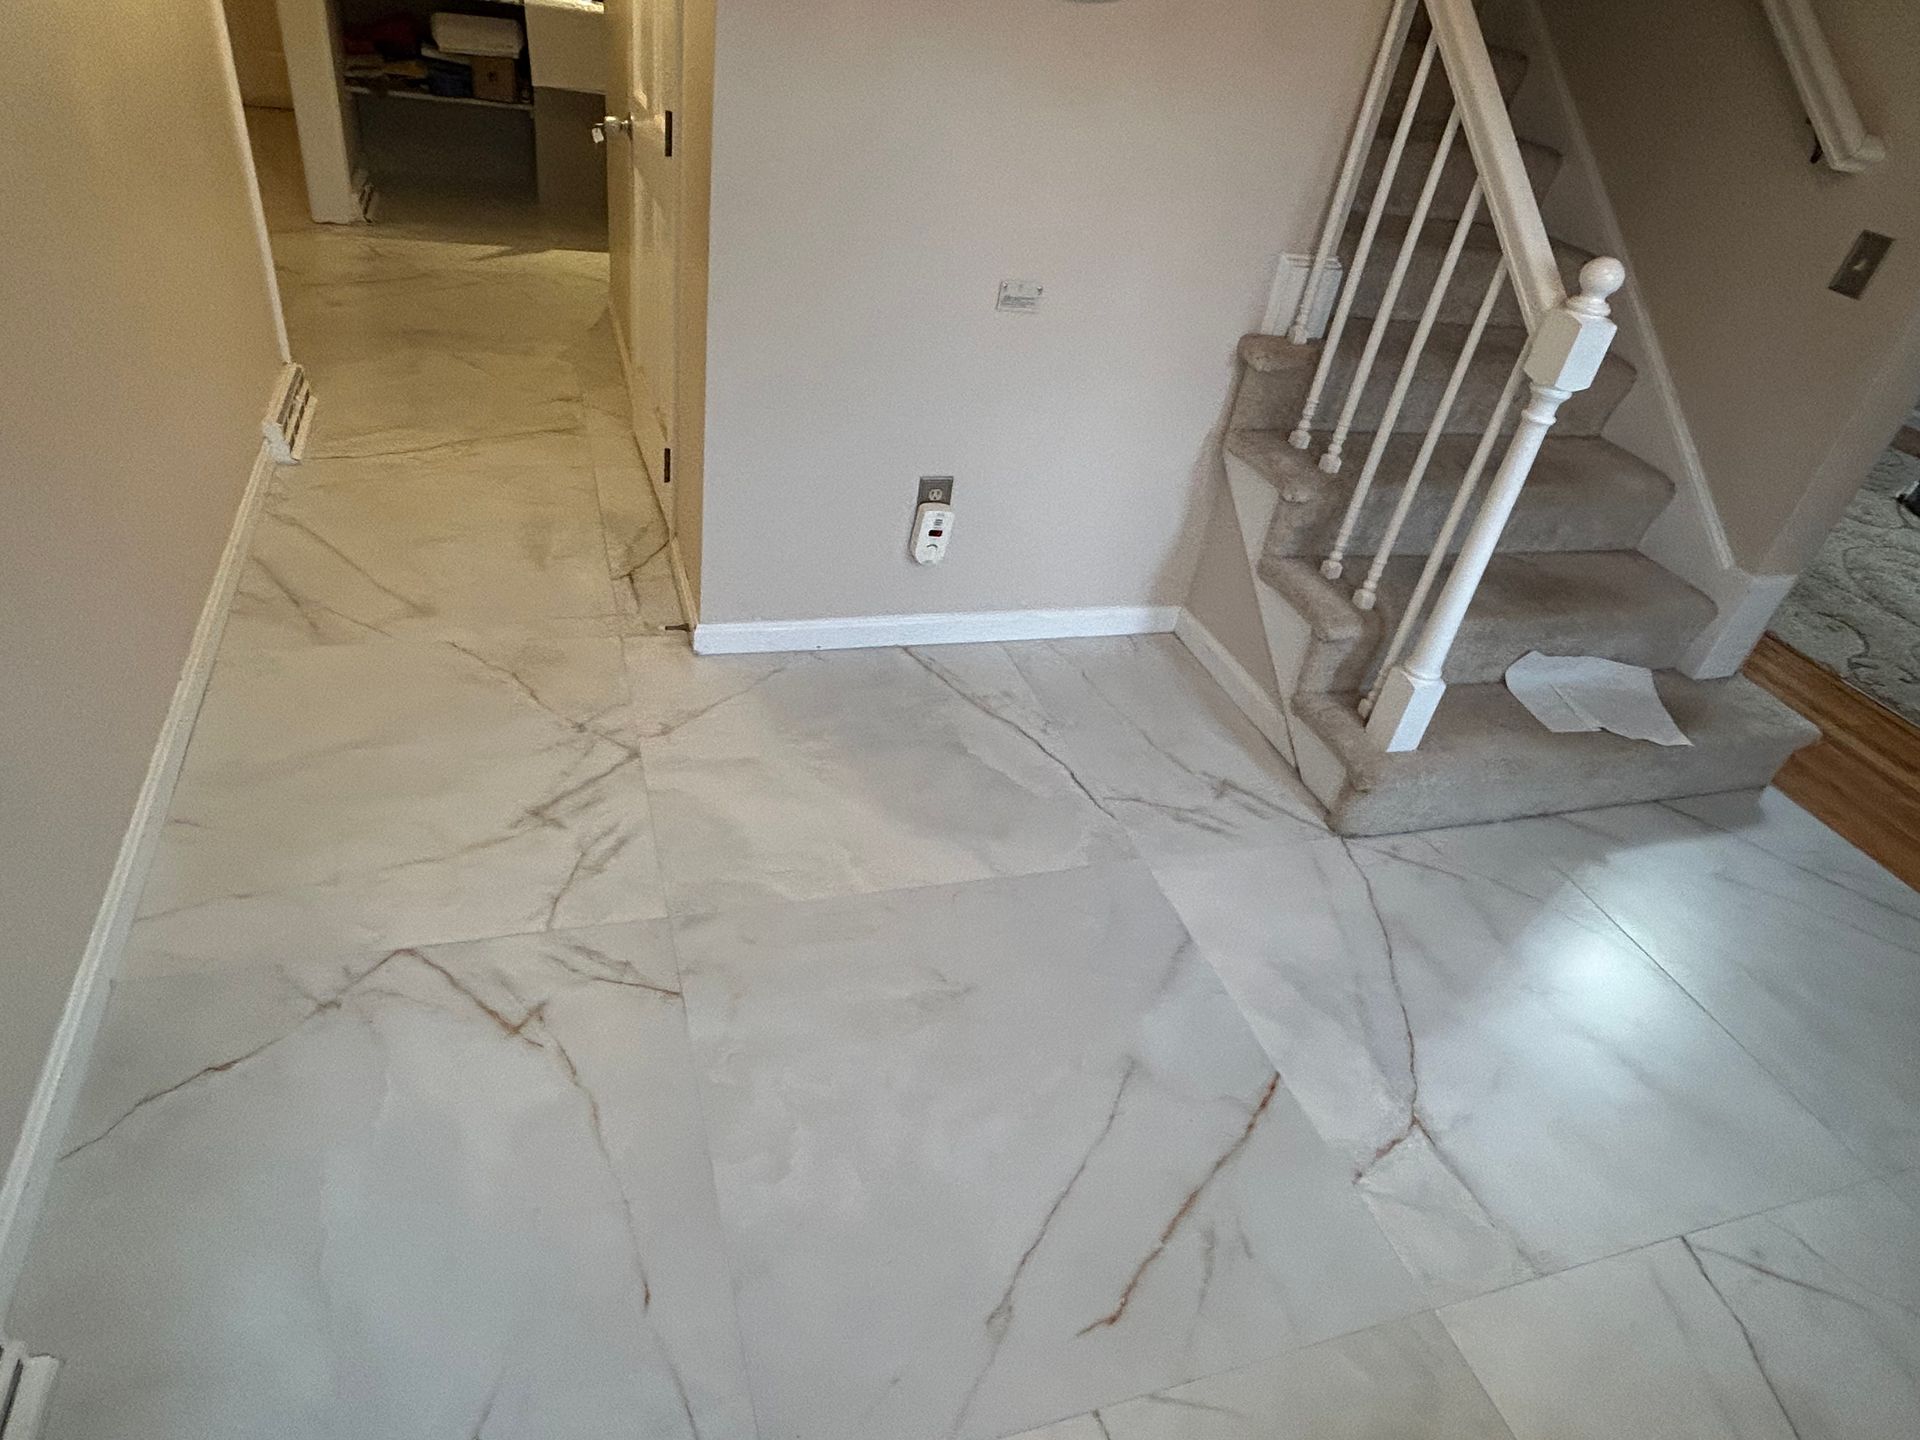
Tile and Stone Floor Installation
Porcelain, ceramic, and natural stone set over cement backer board or an uncoupling membrane, with movement joints where the assembly needs them. Large-format tile gets the tighter substrate tolerance that size demands before any thin-set is mixed.
SUBFLOOR PREP
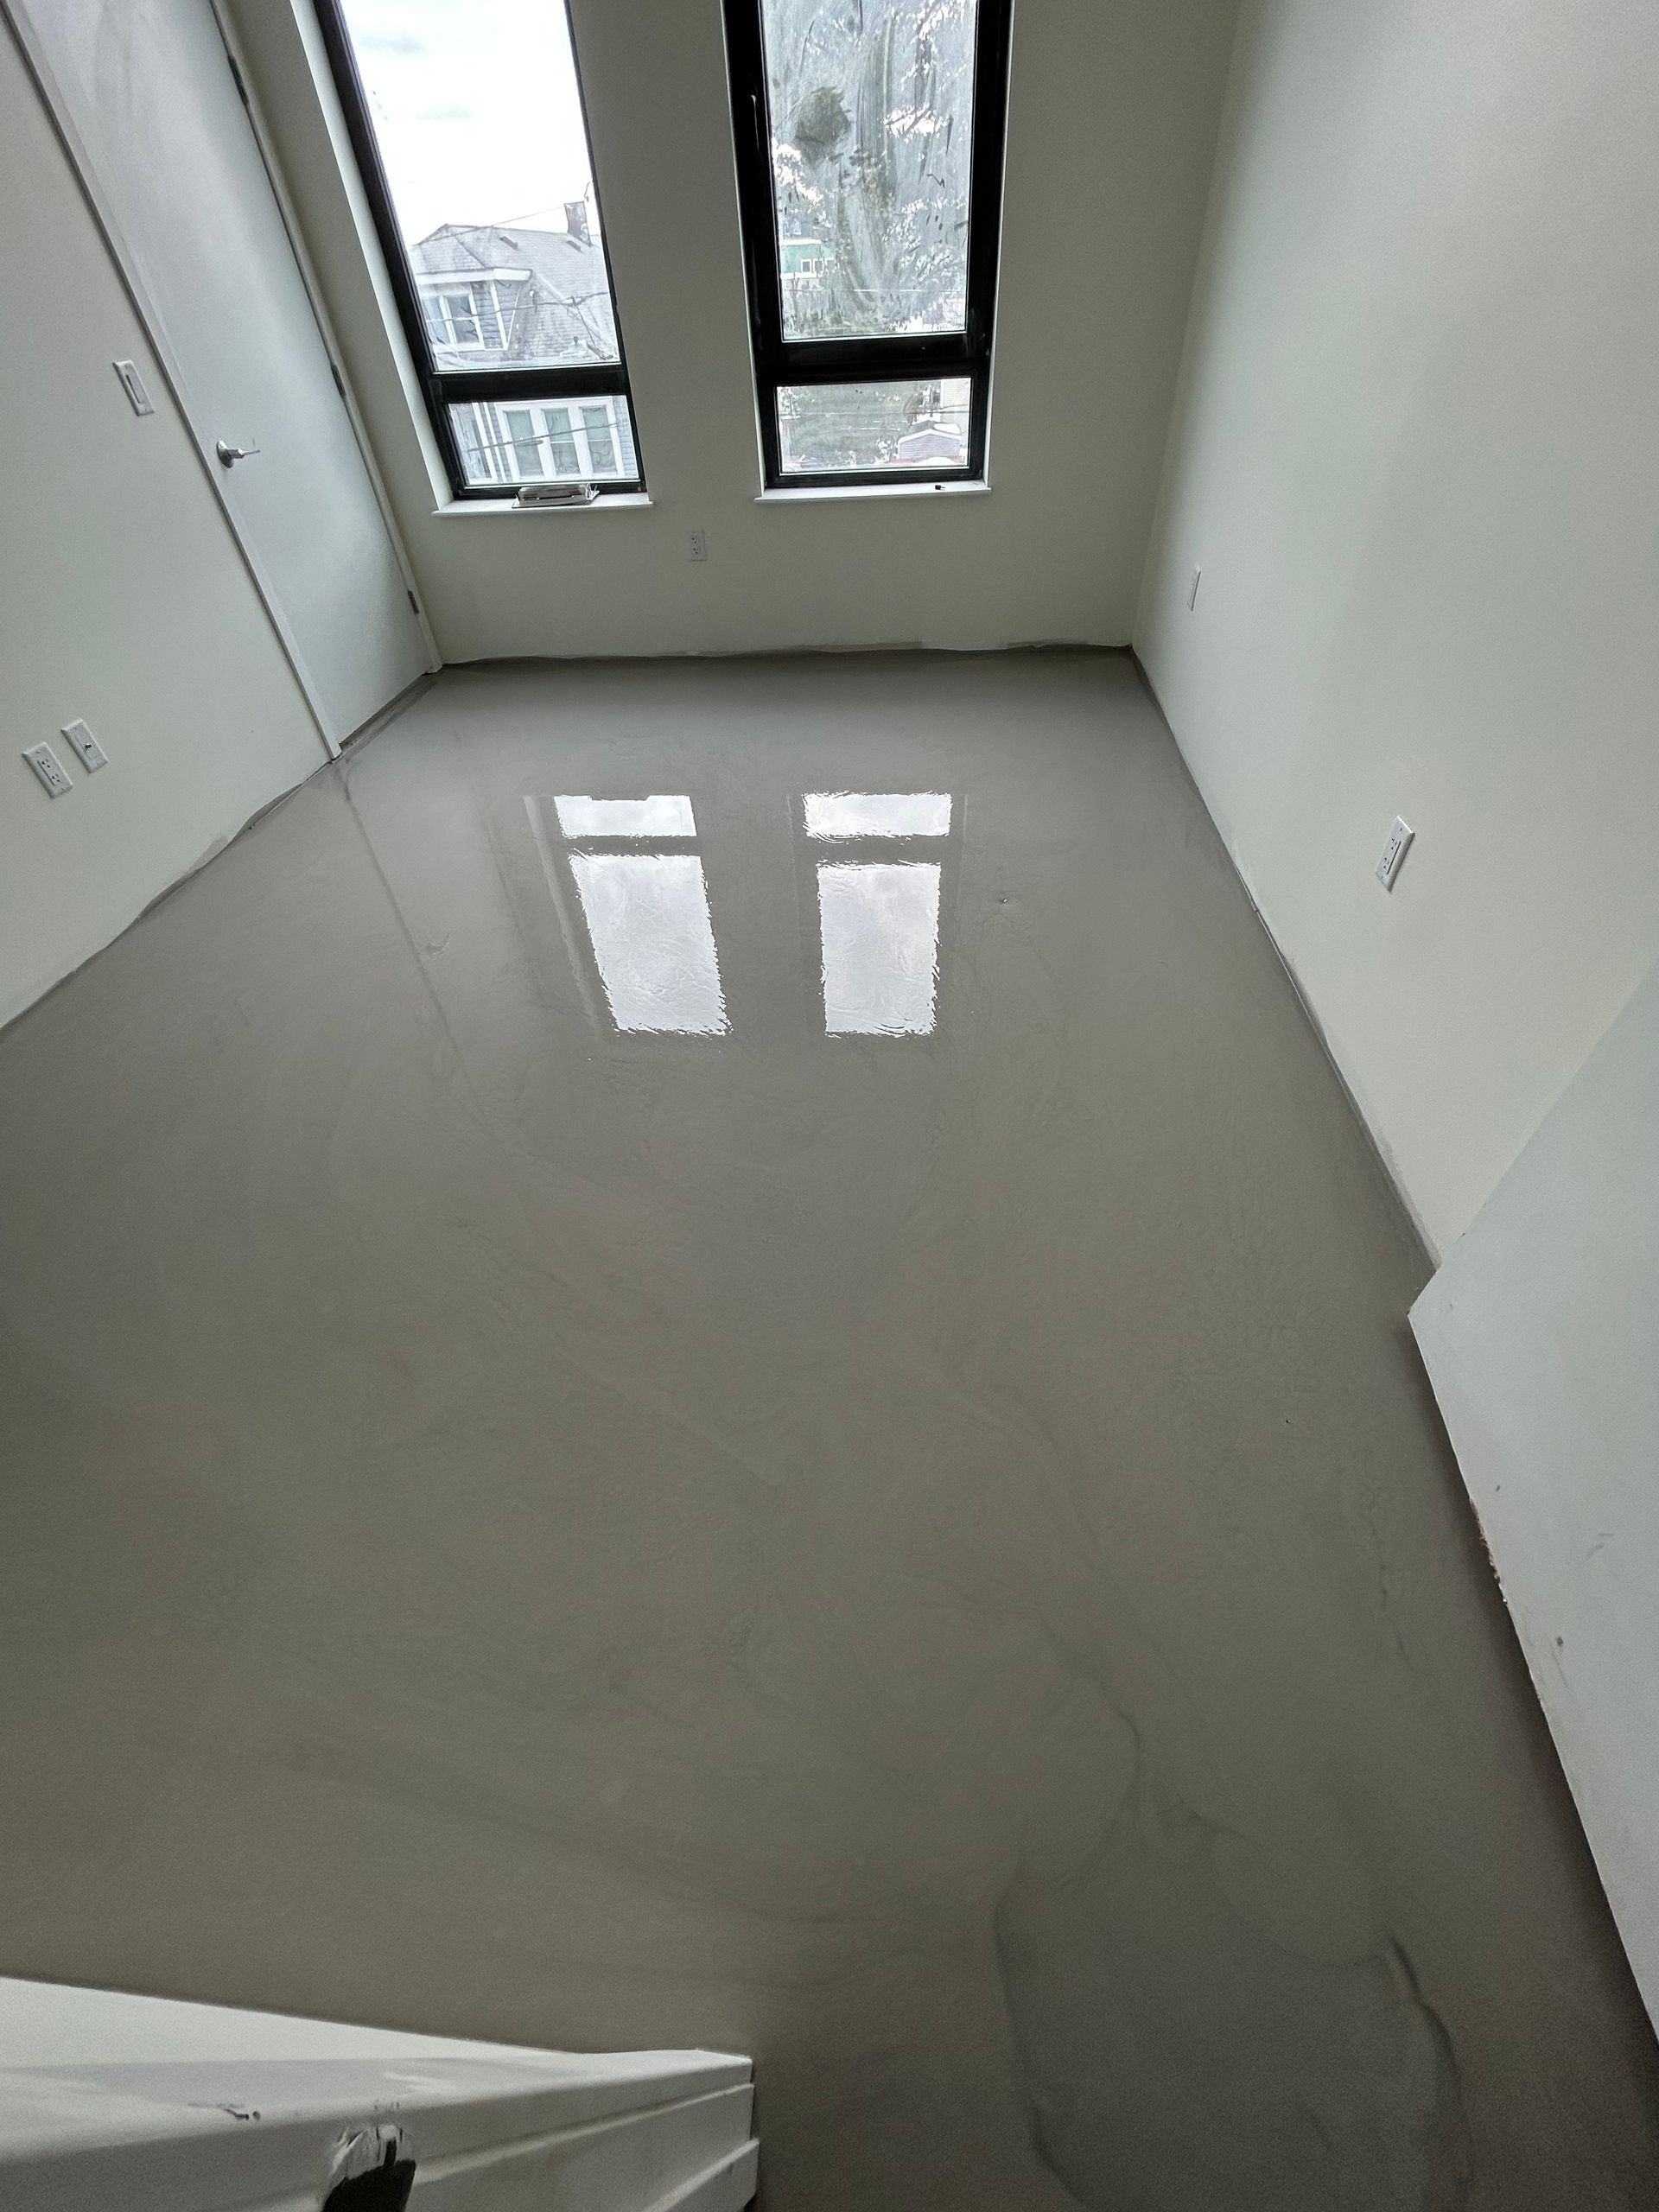
Subfloor Preparation and Leveling
Sanding humps, shimming joist bays, screwing down loose panels, patching soft spots, and pouring self-leveling compound where the dip is too broad to shim. This is the quiet half of installation and the half that decides everything.
➜ THE WORD ON OUR WORK
WHAT OUR CLIENTS SAY.
The compliment we hear most is not about how the floor looks on day one. It is that nothing has moved, squeaked, or opened up since. Customers tell that story better than we can, so read their reviews before you decide.
➜ Common Questions
FREQUENTLY ASKED QUESTIONS.
Questions homeowners raise before booking an installation, covering timelines, subfloor conditions, how different materials behave in this climate, and the preparation you need to handle before our crew arrives.
How long does new flooring take to install?
A single room usually runs one to two days, and a full floor three to five. Advanced Flooring Solution, LLC schedules Lowell, MA installations around subfloor repairs, tile curing, and stair work, and acclimation happens before the clock starts.
Does hardwood flooring need to acclimate before installation?
Yes, solid wood especially. It sits in the room until its moisture content settles within a couple of percentage points of the subfloor. Delivering and installing the same day is the fastest route to gaps or cupping later.
What underlayment goes under vinyl or laminate flooring?
Floating laminate needs a foam or felt underlayment for cushioning and sound, plus a vapor retarder over concrete. Many rigid-core vinyl planks arrive with a pad already attached, and adding a second layer under those actually voids the coverage.
Can new flooring be installed over an existing floor?
Sometimes. Sound, well-bonded tile or sheet vinyl over a solid subfloor can stay in place if the added height still works at doors and appliances. Loose material, cushioned vinyl, carpet, or anything hiding moisture damage comes out first.
What is the difference between solid hardwood and engineered wood flooring?
Solid hardwood is one piece of wood through its full thickness and can be sanded many times. Engineered layers a wood veneer over plywood or fiberboard, moves less with humidity, and installs over concrete where solid plank cannot go.
Do I need to move furniture and appliances before installation?
Clearing small furniture, rugs, and closet contents ahead of time keeps the schedule tight. We handle the larger pieces, and any appliance that needs disconnecting should be dealt with by a licensed trade before the installation day begins.
Should baseboards come off, or can shoe molding cover the gap?
Either approach works. Removing and resetting the baseboard gives the cleanest look with no added profile at the wall. Adding shoe molding is faster, less disruptive to painted walls, and covers the required expansion gap just as effectively.
Which flooring works best over a concrete slab or basement floor?
Tile, vinyl, and engineered wood perform below grade when the slab passes a moisture test, which Advanced Flooring Solution, LLC runs on every Lowell, MA basement job. Solid hardwood does not belong on concrete, and standard laminate struggles there too.
➜ HOW WE WORK
FROM BARE SUBFLOOR TO FINISHED TRIM, HERE IS HOW.
STEP 01
Walk the rooms and measure
We measure every room, note doorway heights, appliance clearances, and stair details, and talk through how each space actually gets used. That conversation narrows the material list faster than any showroom visit does.
STEP 02
Test moisture and check flatness
Slab or subfloor moisture is measured and recorded, and a straightedge finds the humps and dips. Any prep work needed gets priced in writing at this stage rather than appearing as a change order later.
STEP 03
Order material and acclimate it
Material is ordered from a single lot with the right overage for waste and future repairs, then delivered and left to acclimate in the rooms where it will be installed until the moisture readings line up.
STEP 04
Remove the old floor and prep
Existing flooring comes out and gets hauled away, fasteners and old adhesive residue are cleared off, and the substrate is sanded, shimmed, patched, or leveled until it meets the tolerance the new material requires.
STEP 05
Install the new flooring
Layout lines go down, boards are racked for color and grain, and the floor is fastened, glued, or floated by the method that material calls for. Perimeter expansion gaps are held at every wall and obstruction.
STEP 06
Trim, transitions, and walkthrough
Thresholds, stair nosings, and shoe molding go on, the site is cleaned, and we walk the finished floor with you in daylight. Care instructions come at the end so the warranty stays intact.
➜ GET YOUR FREE ESTIMATE
WALK YOUR ROOMS WITH US, FREE.
Bring us the room, the traffic it takes, and the budget you have in mind. We will tell you what the subfloor needs, what materials suit it, and what the finished number looks like, in writing.
WHAT YOUR ESTIMATE COVERS:
- Room-by-room measurements and material quantities
- Subfloor prep priced as its own line
- Material options at more than one price point
- Removal and disposal of the old flooring
- Transitions, thresholds, and trim included
- A start date and a realistic duration